
The Navigate tab
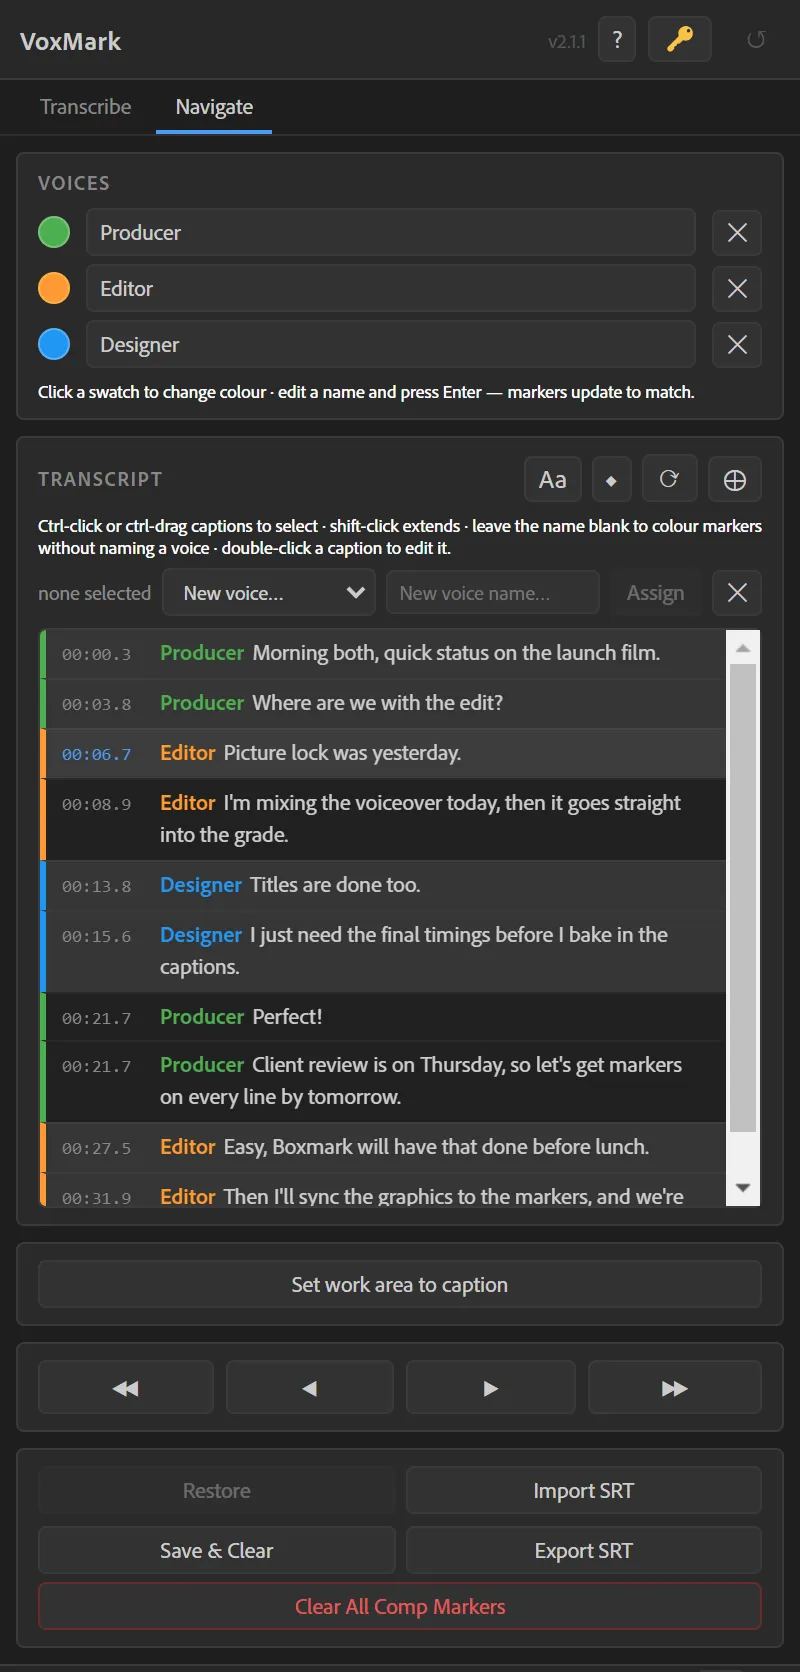
The Navigate tab shows your whole transcript, one caption per row, coloured by voice. It is saved with your project, so it’s there whenever you come back.
Jump and follow
Section titled “Jump and follow”- Click a caption to move the playhead straight to it.
- As you play or scrub, the caption under the playhead highlights.
- The transport buttons step to the start, previous marker, next marker and end. They work even without a transcript.
Edit a caption
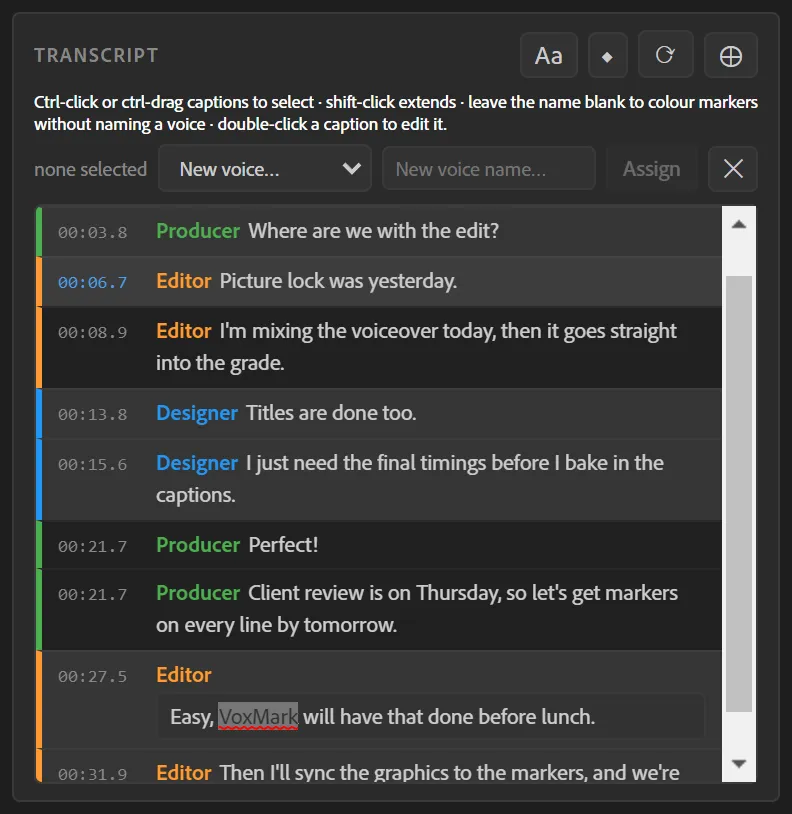
Section titled “Edit a caption”Double-click a caption to correct it. Press Enter to keep the change, or Esc to cancel. The saved transcript updates straight away, and where a marker exists for that caption, so does the marker on your timeline.
The voice name isn’t part of what you edit — it stays attached to the caption.
Voices
Section titled “Voices”The voice list above the transcript shows each speaker with a colour swatch.
- Rename a voice by editing its name. Every marker for that voice follows, and the name flows into exports.
- Change its colour with the swatch.
- Remove a voice with ✕ — its captions keep their text and just lose the name.
- A voice can have no name at all, just a colour.
Assigning voices by hand
Section titled “Assigning voices by hand”Works with any provider, no speaker detection needed:
- Ctrl-click (⌘-click on a Mac) or Shift-click captions to select them. Ctrl-drag paints a selection across several.
- In the bar that appears, pick a voice — or type a new name — and click Assign.
Timeline tools
Section titled “Timeline tools”The buttons in the Transcript header:
| Button | What it does |
|---|---|
| Aa | Hides the caption text on the markers in your timeline, to declutter it. The text stays here, and comes back when you click again. |
| ◆ | Switches ranged markers to single-frame, and back. |
| ⟳ | Rebuilds the transcript from the markers on the timeline. Replaces the saved transcript. |
| ⊕ | Creates markers from the saved transcript. Replaces its own markers if they’re already there; markers you placed yourself are left alone. |
Preview one line
Section titled “Preview one line”Select one or more captions and click Set work area to caption (After Effects) or Set In/Out to caption (Premiere Pro). The work area or In/Out now spans exactly those captions, so you can preview a single line without hunting for its edges. With nothing selected, it uses the caption under the playhead. One undo puts the previous work area back.